
You've bought our Hexagon play mat and are eager to start playing, but now you are wondering how to assemble your mat! Read on below for simple instructions on how to put your play mat together so you can start having fun.
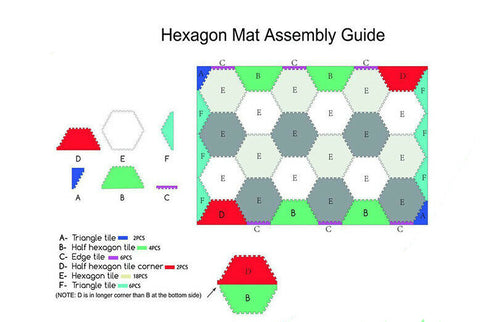
To assemble your baby play mat, begin by sorting the tiles. Take all the tiles out of the bag and group them together according to their shape. Place all the full hexagons in one pile, all the half hexagons together, and so on. It is also useful to sort these by colour. So all the white full hexagon tiles together for example. You can use the picture provided as a guide on the different tile types.
Once you have sorted the tiles into their respective tiles & colours, it's time to start assembling the mat. Using the pictures above as a reference, begin by assembling the full hexagon tiles first. Follow the numbers on the tiles to ensure you place them in the correct position. Start with tiles numbered E above in the bottom left corner, and work your way around the mat. Next fill in the bottoms (half hexagons and edge pieces) and then the side and corner pieces.
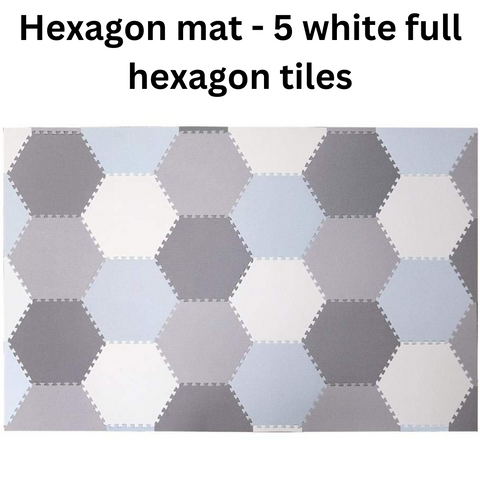
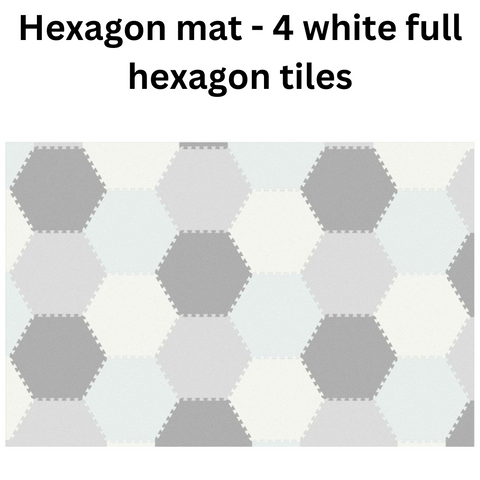
You will notice that the tiles come in two colour combinations: dark grey and white, and light grey and light blue. The columns use the same combinations each time, just alternating the colours. You can use the pictures below to assemble your mats using this colour combination method.
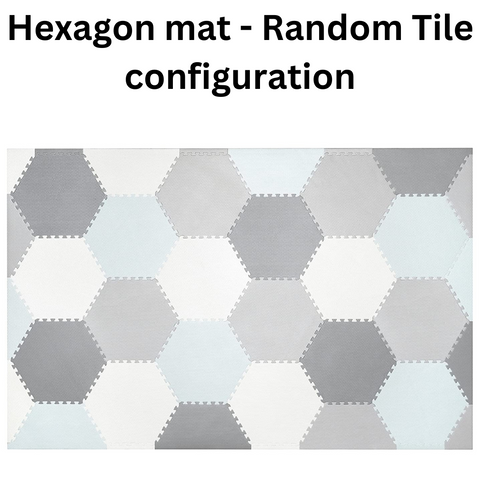
Alternatively, if you prefer, you can assemble the full hexagon tiles in a more random colour pattern and then fill in the sides in any colour combination that you wish.
By following these assembly instructions, you'll have a beautiful and functional play mat for your baby in no time!
Happy playing!